Changing your Phone Number on Gmail account is very easy, you can do it in simple steps. Just follow the steps as given below:-
Step 1. To change your phone number on Gmail, log in to your Gmail account.
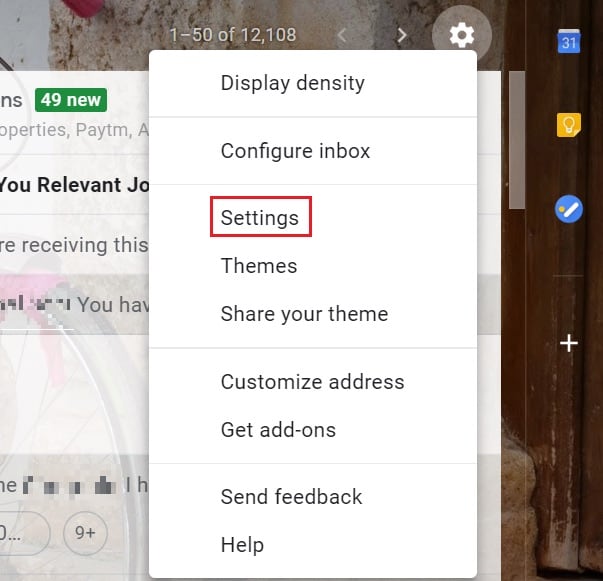
Step 2. Click on the Settings button.

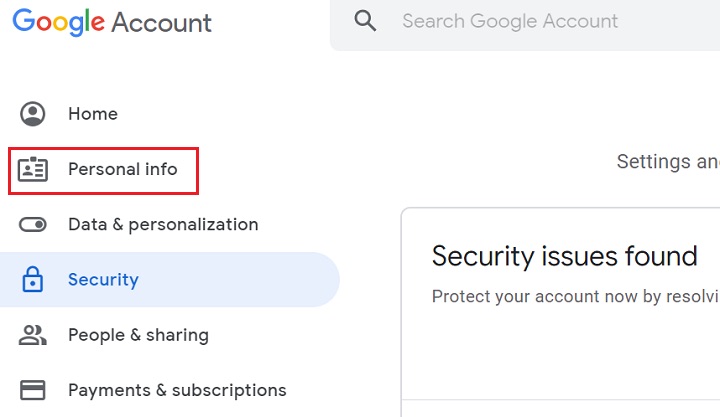
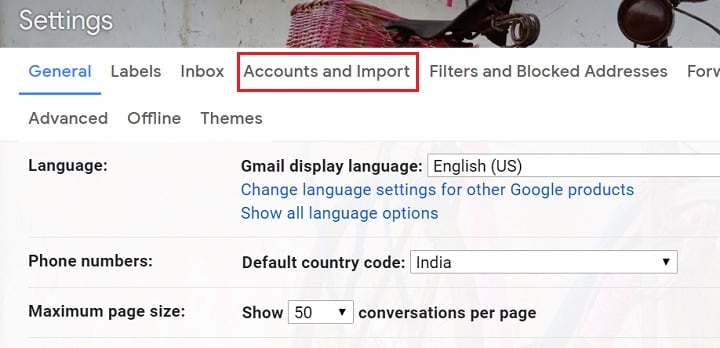
Step 4. Click on ‘Accounts and Import’ from the top horizontal pane.
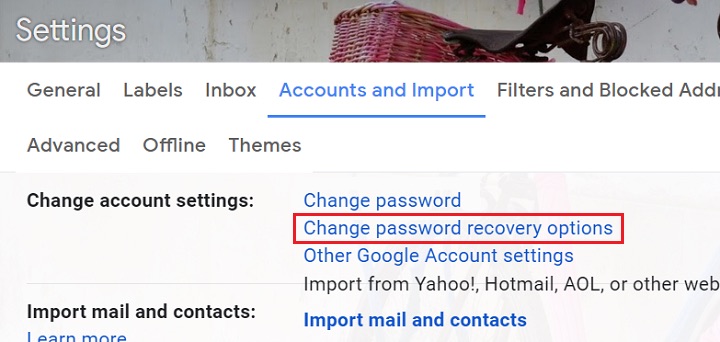
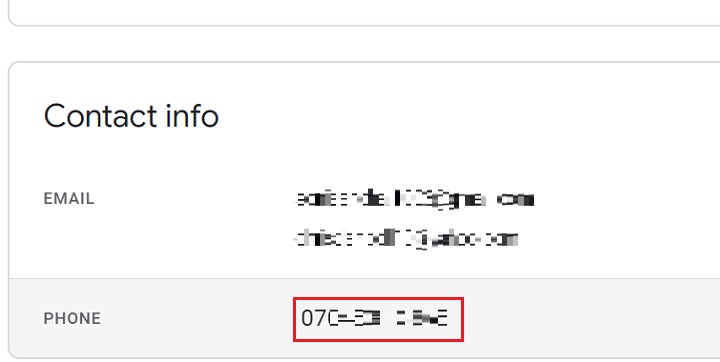
Step 7. Scroll a little down. In the ‘Contact info’ section, click on your phone number.
Step 8. Now, click on the edit button.
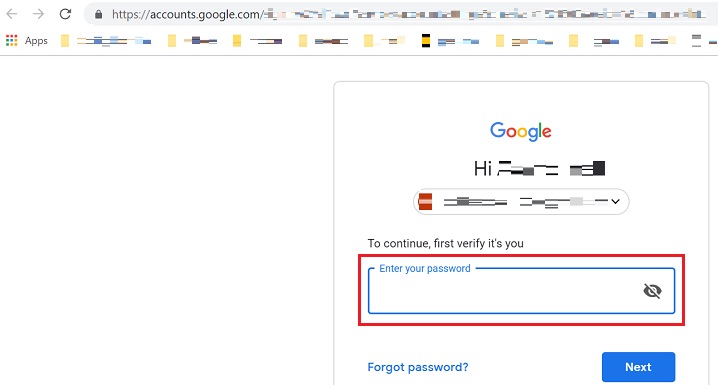
Step 9. You’ll be redirected to a new page that will seek your Gmail password to ensure authenticity. Enter your password in the box and click on ‘Next’ button.
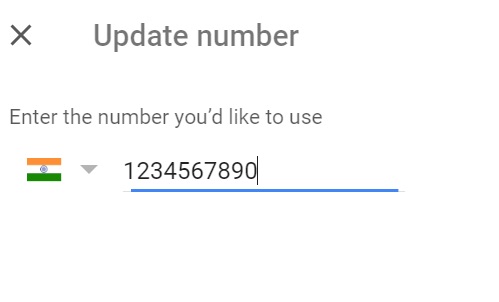
Step 11. Click on ‘Update Number’.
Step 13. To replace phone number on Gmail, Google will send a verification code on the entered number. Click on ‘Get Code’ option that lies in the bottom right corner of the screen.
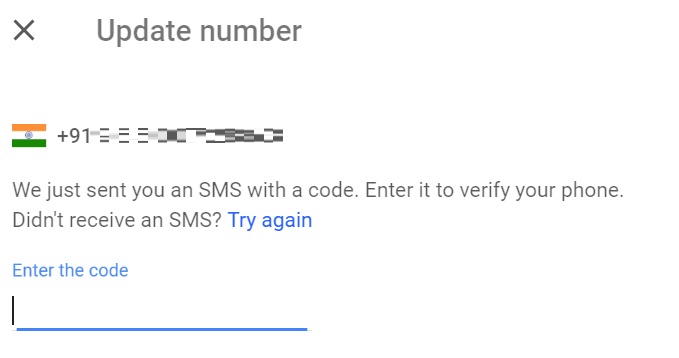
Step 14. Enter the received code in the given text box and click on Verify. Your phone number would have changed. You can update phone number in Gmail by following these steps seamlessly.
That’s it. Now you have successfully updated your Phone number on Gmail Account.
