Twitch is a huge platform for video gamers where users can create a channel and chat with millions of fans worldwide. So you should understand the use of Nightbot on Twitch. Why is it so an important tool? How to add Nightbot to Twitch? In this article, you will learn that how to enable Nightbot to Twitch?
Nightbot is the most important bot for Twitch users. It’s easy to use every feature and easy to customize. Nightbot is used to track user’s questions and requests because it’s not easy to maintain while streaming. Frequently streamers keep deleting their chats and get spammed.
Nightbot can help maintain the record of streamer’s moderate chats on various platforms like- Twitch and YouTube. You can easily add this Nightbot to your Twitch. The main problem is how can enable Nightbot to Twitch.
How to add nightbot to twitch
You must follow the below step by step process to get enable Nightbot on Twitch: –
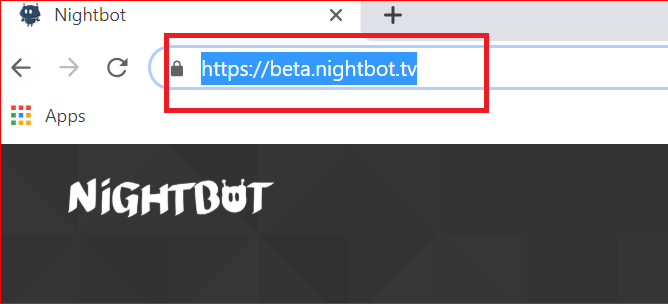
Step 1. Sign up for “Nightbot” account by going to https://beta.nightbot.tv/ on your web browser
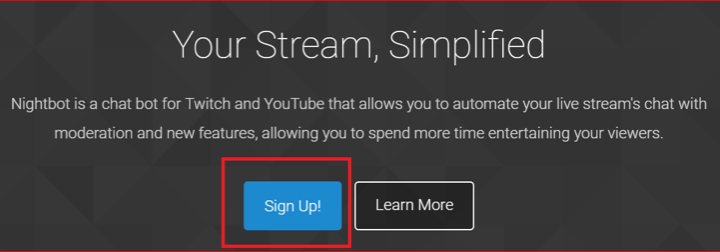
Step 2. Select the button “Sign Up!”.
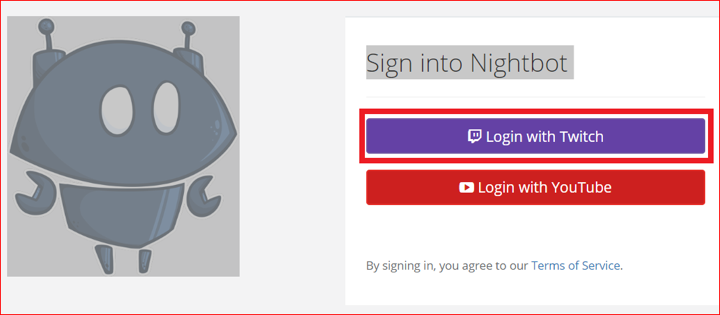
Step 3. The next window appears to Log in using the “Twitch” account.
Read Also How to Create a Facebook Account
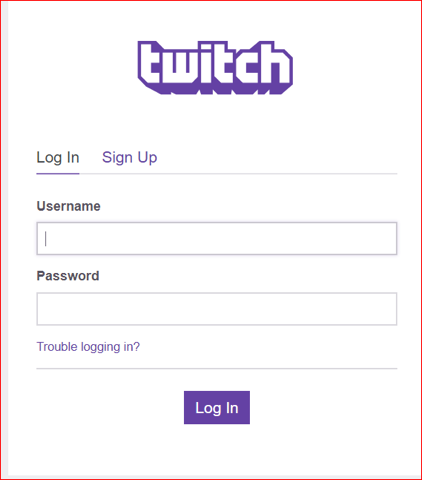
Step 4. On selecting the “Login with Twitch” button, the next window appears to enter Twitch login ID and Password.
Step 5. Enter Username and Password, and click “Log In.”
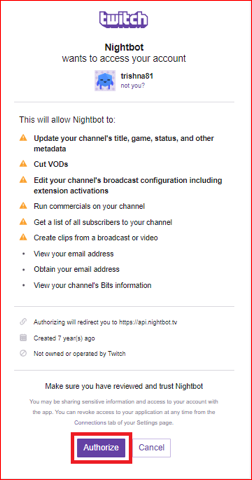
Step 6. The next window appears to authorize Nightbot to access your twitch account and to add Nightbot to Twitch.
Read Also How to Block & Unblock an Email Address on Gmail
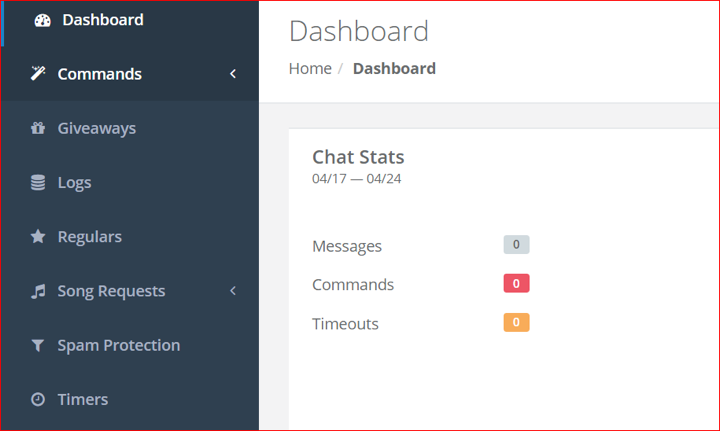
Step 7. Once you select the “Authorize” button, the Nightbot chat dashboard appears..
That’s it! I hope this article may help to find a better process to add Nightbot on Twitch. Thank You!

