Gmail Filter Rule allows blocking emails, sort, and label, and even forward to other addresses. By below-given procedure, you can automatically create rules to filter your emails in no time.
How To Create Filters Rules In Gmail
There are two methods to Create Filter Rules in Gmail. Let’s see one by one using both ways:-
Method 1:-
Step 1: Firstly, you have to open your Gmail Account by log in all the asking credentials such as Your Email ID and Password.
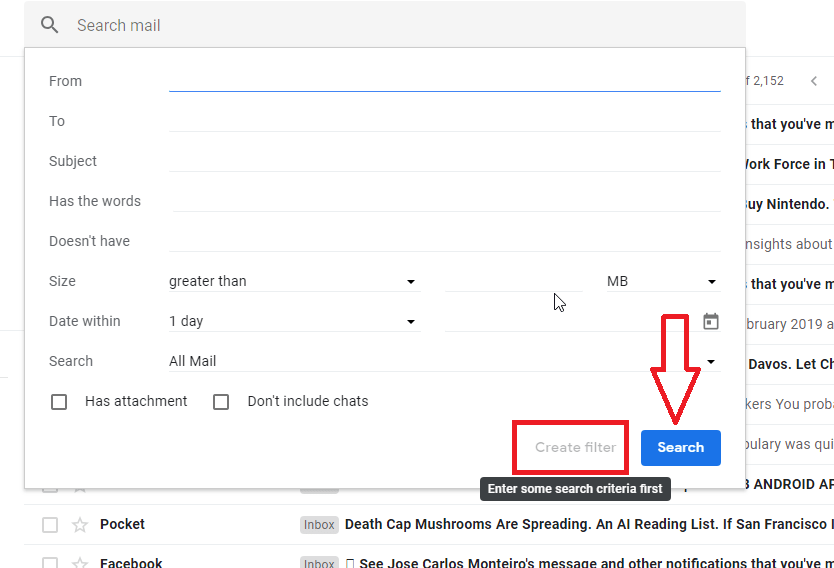
Step 2: After redirecting your Gmail Account, go to the search box available at the top and then click the Down arrow appear in the right corner of search Bar.
Step 3: After hitting it, you will enter the Gmail search criteria. You can also check your search by running the “Search” tab appears in the right bottom of the Gmail search criteria.
Step 4: After searching, you can create rules to filter your emails by tapping the “Filter” tab showing on the bottom page.
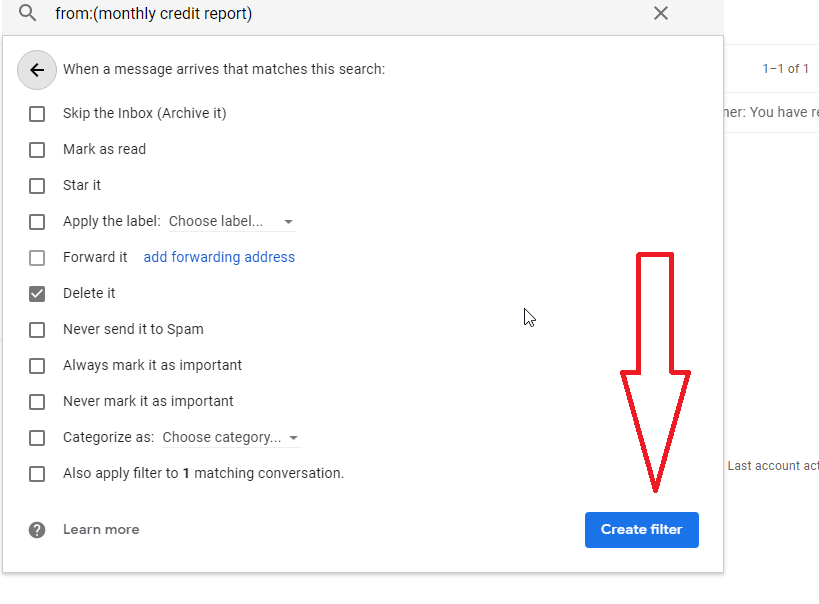
Step 5: After creating filter rule in Gmail, A page will come up asking you to add the filter with a Mark as read, Star it, apply the label or delete it the option. Choose the Appropriate one.
Method 2:
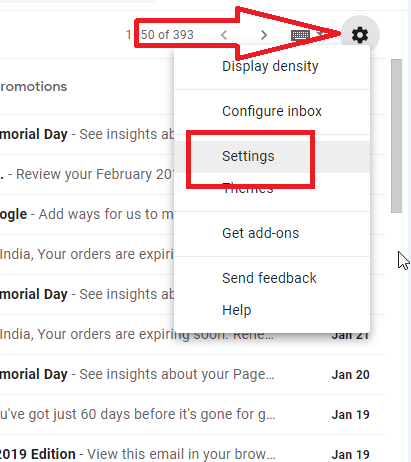
Step 1: Create filters rules in Gmail by open up the Gmail settings. You need to move your cursor towards the right panel of the page and then hit to the “Setting” button.
Step 2: This will open a Drop-down list, and you need to choose “Setting” option available in the top 3 on the menu.
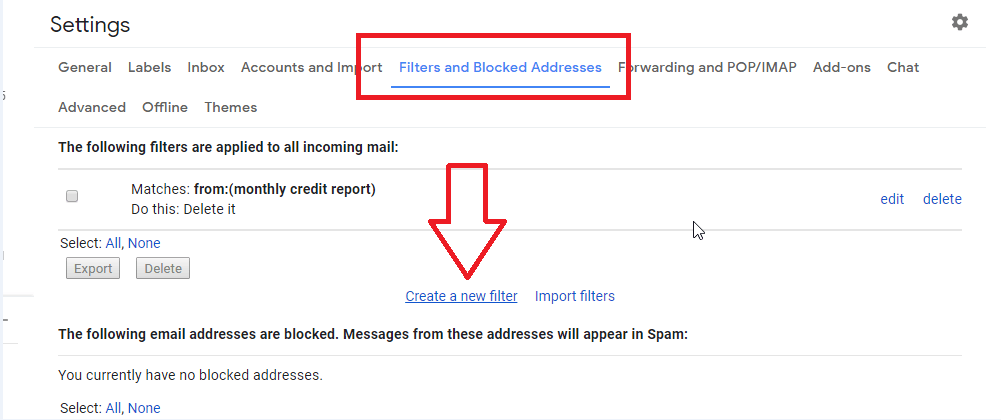
Step 3: After that, Hit to the “Filter And Block Address” option appears in the middle of the menu bar.
Step 4: Then, you need to hit the “Create New Filter” option to add filter rule in Gmail.
Step 5: After hitting it, you can merely create rules to filter your emails. You can block these emails or read them or even these emails according to your need.
That’s it.
